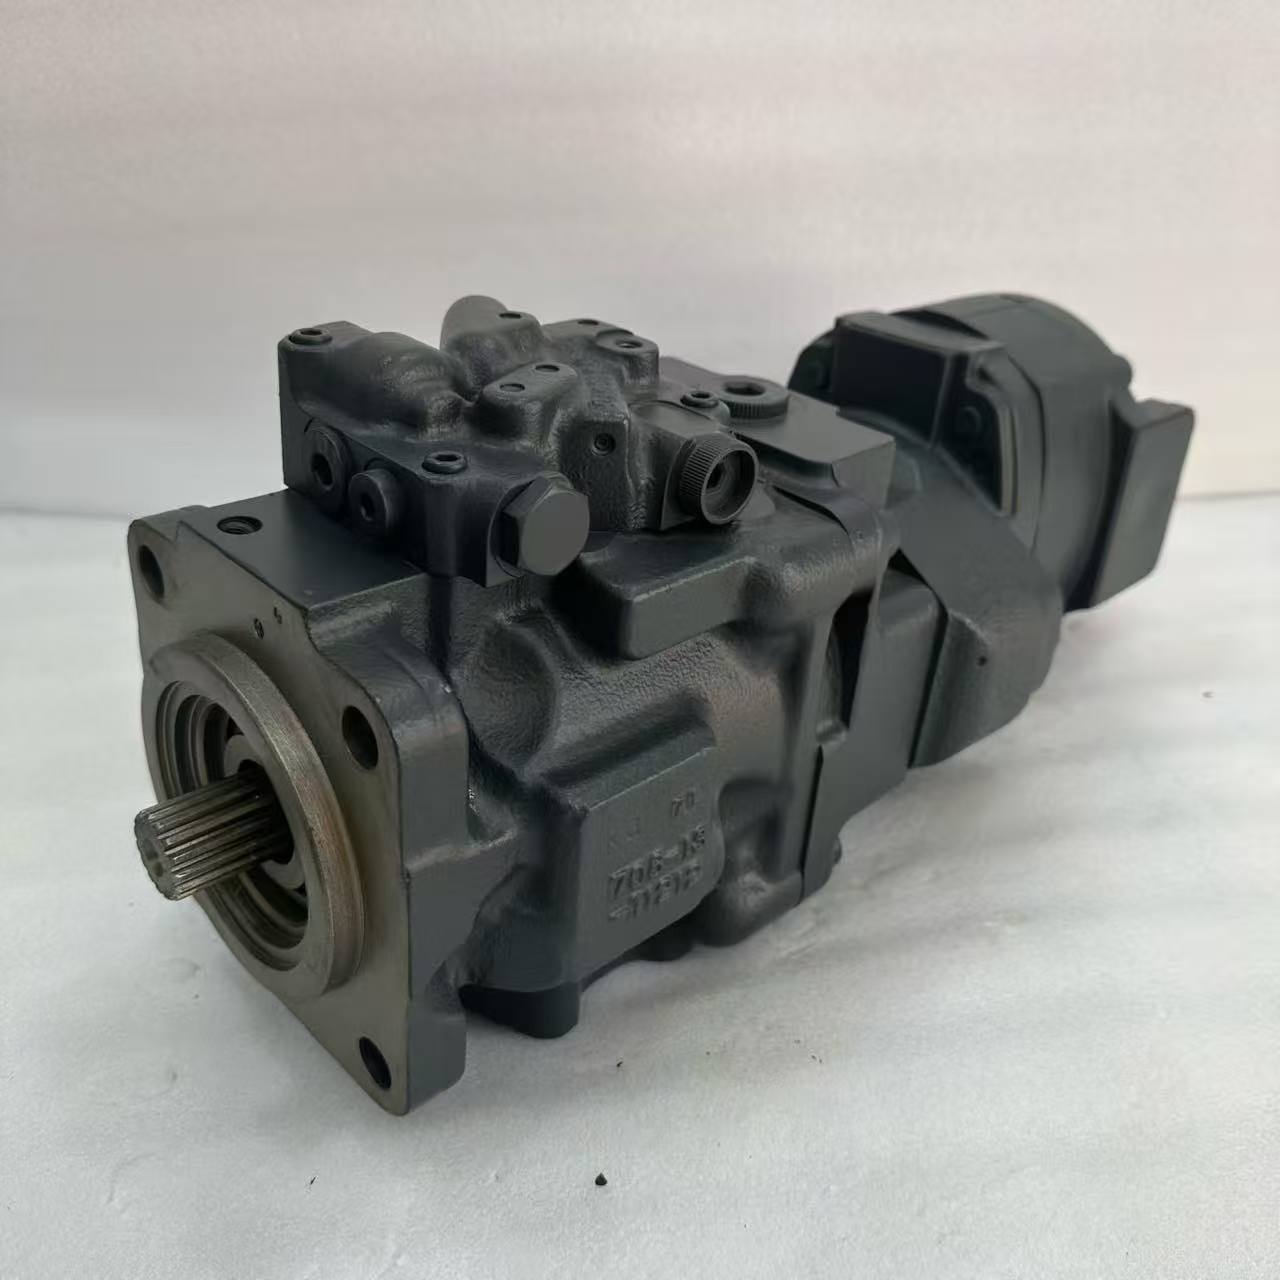
Hydraulic Main Pump Assembly 708-1T-00552 compatible with Komatsu D31 D37 D39PX-22 D31EX D37EX D39EX dozer.
Strict quality inspection before shipment. High strength material, excellent wear resistance, stable hydraulic output.
Ideal replacement part for repair & overhaul.
Fast delivery and competitive price.
✅ Part No: 708-1T-00552
✅ Fit for Komatsu D31, D37, D39 Crawler Dozer, D31PX-22, D37PX-22, D39PX-22, D31EX, D37EX, D39EX
✅Replacement, matches OEM specification
✅ Pre-tested hydraulic performance, low leakage & stable pressure
✅ Heavy-duty material for harsh construction site
✅ Direct installation, no modification needed
✅ Used for dozer repair, maintenance & fleet overhaul
708-1T-00552 Hydraulic Main Pump Komatsu D31 D37 D39 Dozer
D37EX-22.
The same part number can be quoted for more than one arrangement within a model range, and the same description often covers different parts across a production run. Send your model and full serial number — or the parts-book page reference — and we will confirm the fitment before dispatch.
A service kit bundles the seals, rings and one-time-use parts for one assembly into a single part number, so the job is done with everything on hand instead of part way. In this machine it sits in the hydraulic system, and it is the number the parts book calls out for that position. When it wears or fails, the symptom usually shows up in the function of the assembly rather than as damage you can see from outside — which is why fitment and serial number matter more than appearance.